Unleashing the Beauty of Hoya Compacta
Hoya compacta, commonly known as the Hindu rope plant or Krinkle Kurl, is a popular houseplant that belongs to the Apocynaceae family. Native to Southeast Asia, it is a succulent plant that is known for its thick, curly foliage and its ability to produce clusters of fragrant, waxy flowers.


Some of the key features of Hoya compacta include:
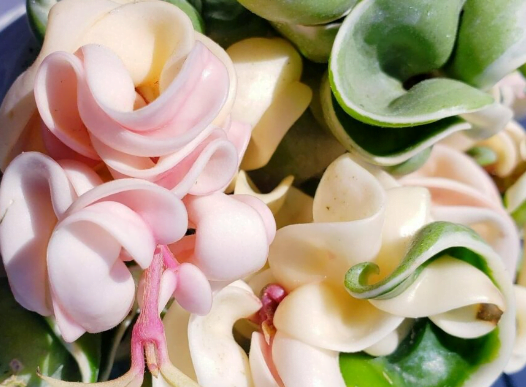
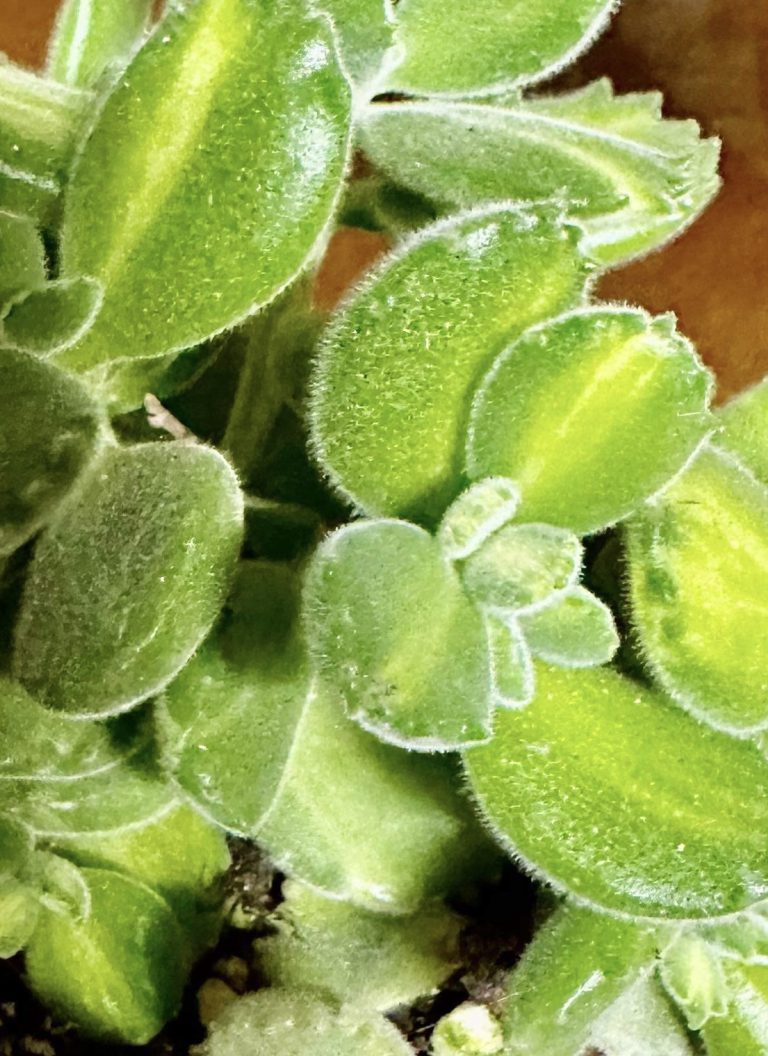
- It has thick, waxy leaves that are folded and curled, giving them a rope-like appearance. The leaves are green in colour or variegated with lighter shades, and they have a unique texture that resembles the texture of a rope and can grow up to 4 inches in length.
- The plant blooms during summer, producing small spherical clusters of small star-shaped and pale pink to white or red flowers with a pleasant fragrance. The flowers attract pollinators such as bees, butterflies, and moths.
- Prefers bright, indirect light but can tolerate some shade. Avoid direct sunlight as it can scorch the leaves.
- The plant prefers high humidity levels, so misting the leaves or placing a humidifier nearby can help it grow healthy and strong.
- It is drought-tolerant and prefers to dry out between waterings. Water the plant when the soil feels dry to the touch.
- Prefers well-draining, gritty soil that is rich in organic matter.
- It is considered non-toxic to pets and humans.
- Hoya compacta is an excellent choice for a low-maintenance houseplant that can add a touch of greenery to your indoor space.
Propagation
It can be propagated through stem cuttings, which should be submerged in water or planted in soil until they develop roots. Can also be propagated by layering. To propagate Hoya compacta by layering, follow these steps:
1. Choose a healthy and mature stem from the parent plant that you want to propagate.
2. Locate a node on the stem. Nodes are the point where leaves attach to the stem.
3. Make a small cut on the stem, just below the node.
4. Insert a toothpick or a thin wooden stick through the cut, to hold the stem open.
5. Apply rooting hormone to the exposed area.
6. Fill a small pot with well-draining soil.
7. Place the exposed area of the stem into the soil, leaving the node above ground.
8. Gently press the soil around the stem to secure it in place.
9. Water the soil well but be careful not to over-water or the stem may rot.
10. Cover the pot with a plastic bag to create a humid environment.
11. Place the pot in a bright, indirect light location.
12. Check the soil regularly and water when it starts to feel dry.
13. After a few weeks, roots should start to appear from the node.
14. Once the roots are well established, cut the stem below the node and transplant the new plant into its own pot.

