Unlock the Secrets to Vibrant Shiny Leaves
Plus Pro Tips for Houseplants General Care.
Welcome to our comprehensive guide on how to achieve lusciously vibrant houseplants and expert care techniques. Houseplants not only add aesthetic appeal to your living space but also promote a healthier indoor environment. With our step-by-step instructions and advice, you’ll learn how to revitalize your green companions and keep them thriving year-round.
I would like to share these tips to enhance the foliage appearance of your houseplants effortlessly and unlock the secrets to lush, glossy leaves.
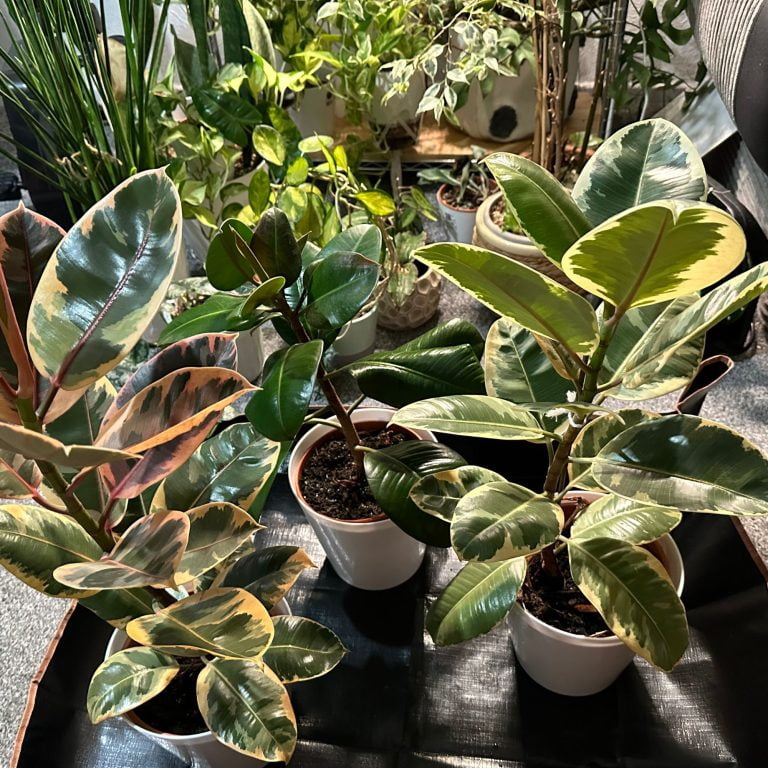
I used to make my rubber plants look healthy, clean and shiny with a trusted solution for revitalizing houseplant leaves, leaving behind a glossy sheen without any hassle. I discover this convenient spray with quick application that ensures even coverage, effectively removing dust and impurities to reveal the natural beauty of your plants.
This carefully formulated Baby Bio Leaf Shine spray has been produced with gentle ingredients, this spray is safe for use on a variety of houseplants, providing instant rejuvenation.
How to Use Baby Bio Spray Leaf Shine:
First, wipe off the dust on the plant leaves. Shake the bottle well before use to ensure proper mixing of the solution. Hold the bottle approximately 12 inches away from the plant and spray evenly onto the leaves, covering them completely. Allow the leaves to air dry naturally, avoiding wiping to prevent smudges or damage.
Further care will promote a healthy growth to your houseplants let me reveal these pro tips for houseplant care:
a. Light: Understand your plant’s light requirements and place them accordingly. Rotate pots regularly for even growth.
b. Watering: Follow a consistent watering schedule, allowing soil to partially dry between watering sessions. Overwatering can lead to root rot. Keeping a record or a Plant Journal of your watering sessions will help you remind when was the last time you water or fertilize your plants.
c. Humidity: Increase humidity levels for tropical plants by misting leaves or placing a humidity tray nearby. This little spray bottle is very useful for this job. Follow this link to find out.
Soil Moisture: This function allows you to measure the moisture level in the soil, helping you determine when to water your plants. It usually ranges from dry to wet, providing a clear indication of the soil’s hydration status.
pH Level: The tester can measure the pH level of the soil, which is crucial for understanding the soil’s acidity or alkalinity. Most plants thrive in specific pH ranges, so this feature helps ensure that the soil conditions are optimal for plant health.
Light Intensity: This function measures the amount of light that reaches the plant, which is essential for photosynthesis. It helps you determine if your plants are getting enough sunlight or if they need to be moved to a brighter or shadier location.
d. Pruning: Regularly trim dead or yellowing leaves to promote new growth and maintain plant aesthetics. There are some pruning shears that I have selected which is suitable for trimming and available here.
e. Soil and Repotting: Use well-draining soil and repot when roots outgrow their container, typically every 1-2 years.
Growing and multiplying houseplants can be useful in many ways: It will save the mother plant in any unavoidable instances when plants become vulnerable especially to plant pest. It can increase the humidity among the houseplants when they are grouped together. Moreover, have provided these expert and general propagation techniques:
a. Stem Cutting: Select a healthy stem from the parent plant and cut it just below a leaf node. Remove lower leaves to expose the node.
b. Rooting Hormone: Dip the cut end of the stem into rooting hormone to promote root development.
c. Planting: Place the cutting in a pot filled with well-draining soil and water thoroughly. Keep the soil consistently moist.
d. Indirect Light: Provide indirect sunlight to the cutting while roots develop, avoiding direct exposure to prevent stress.
e. Transplanting: Once roots have established, transplant the cutting into its own pot and continue care as usual.


